Name: The Six Foot Track
Where: Starting in Katoomba and finishing at the Jenolan Caves
Distance: 46km one way
Tips: Avoid in wet weather, as some sections can get flooded.
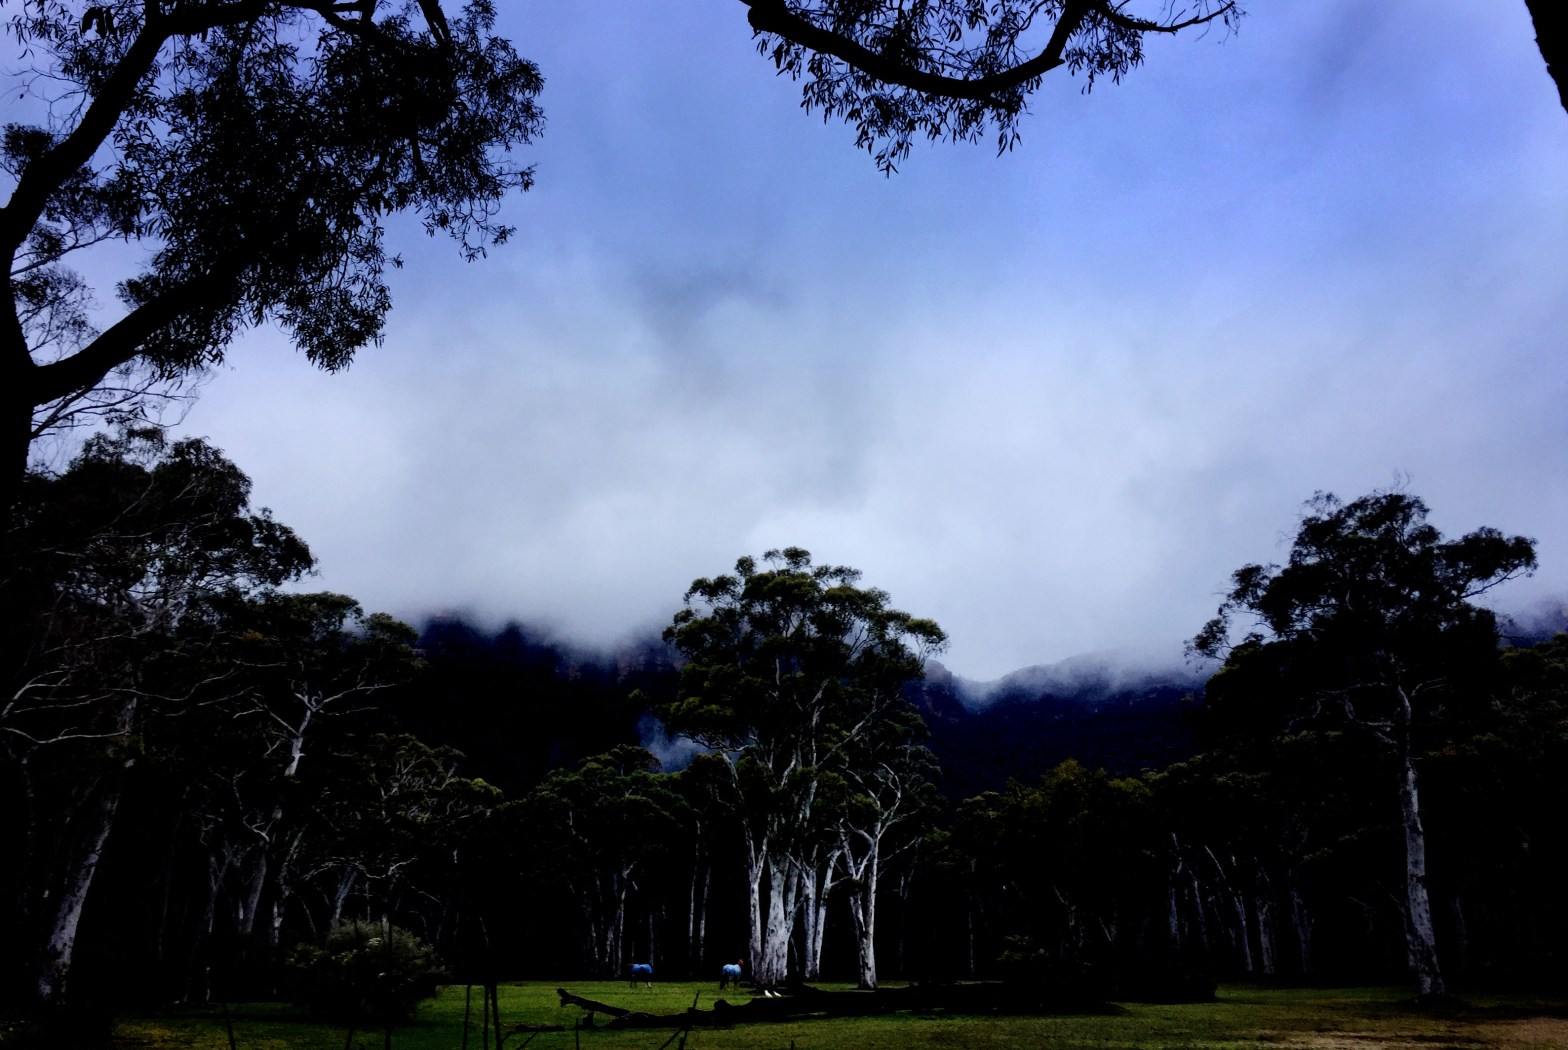
The Six Foot Track in the Blue Mountains
The Six Foot track in the beautiful Blue Mountains is one of my favorite hikes in all of Sydney. A great mix of stairs and hills but also plenty of flat track to rest the legs.
The track itself goes for 46km one way so it’s a fair hike. One entry point is just off the Great Western highway at Katoomba. With the main landmark to aim for being the Explores Tree. The other entry point is the Jenolan Caves on the far side of the Blue Mountains.
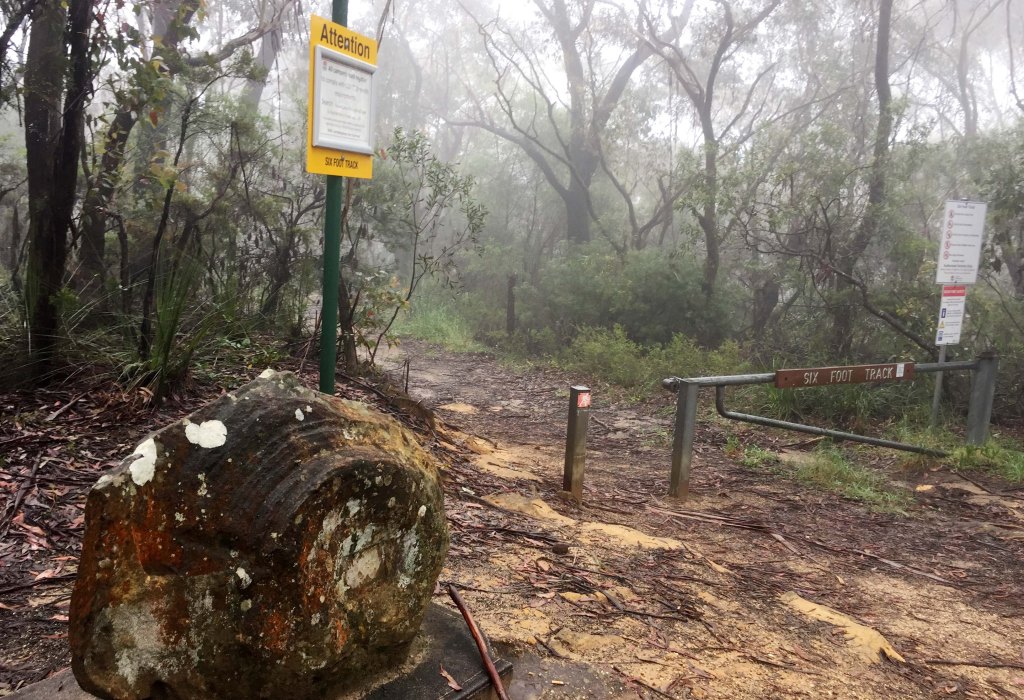
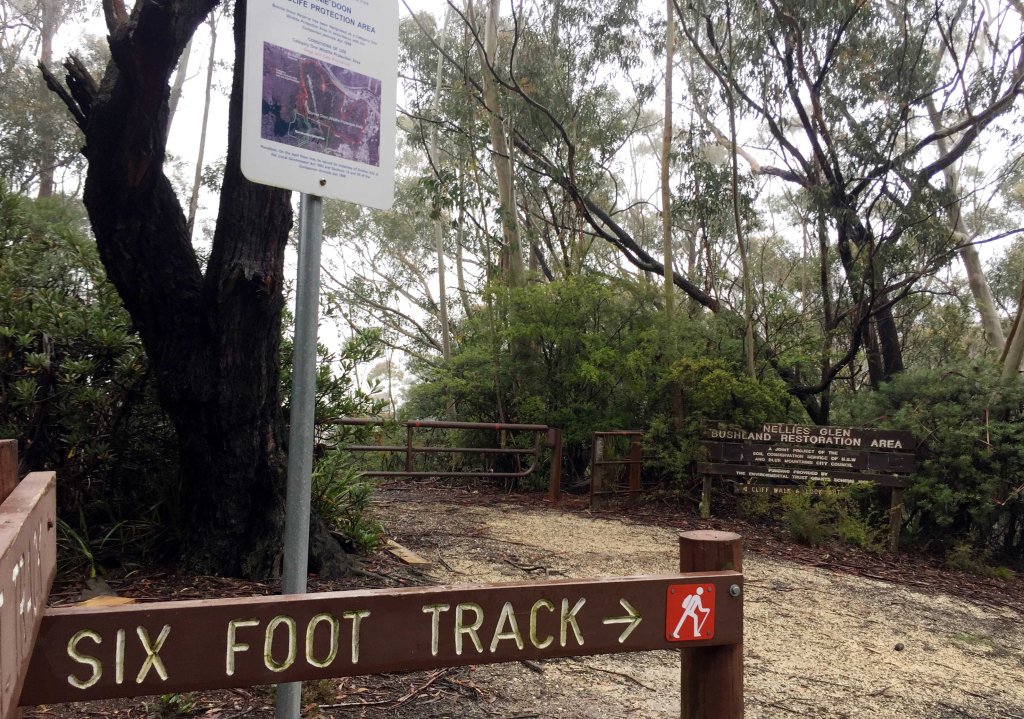
For this trek I started at the Katoomba end. Which you can access at on Explorers Road, Katoomba. There are plenty of signs to find the track and the car park once there.
The first picture below is the start of the track where the car park is.
Once the track starts, you’ll head down a nice size hill, which then turns into the set of stairs that takes you down to the bottom of the mountain. Then you are off and running so to speak.

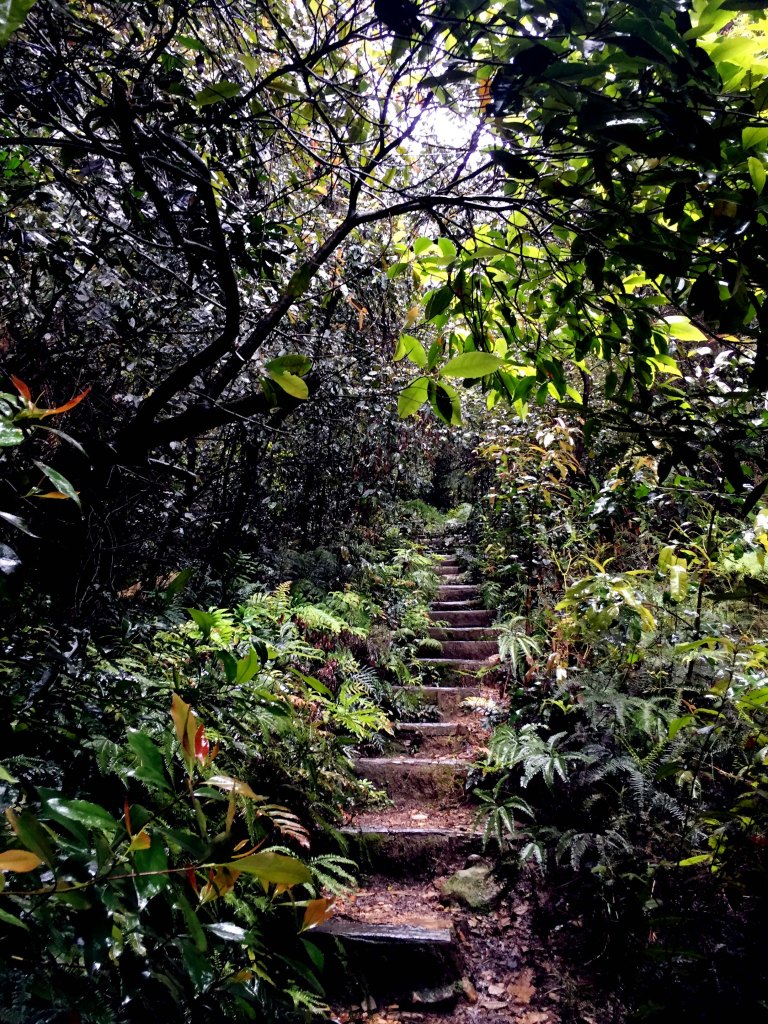
The hike is a 3k decent down a big hill and a pretty awesome set of stairs. It took me around an hour to descend the bottom of the mountain. The trek down is pretty good, but the stairs can be tough so if you have any injury’s maybe this trek is not for you.
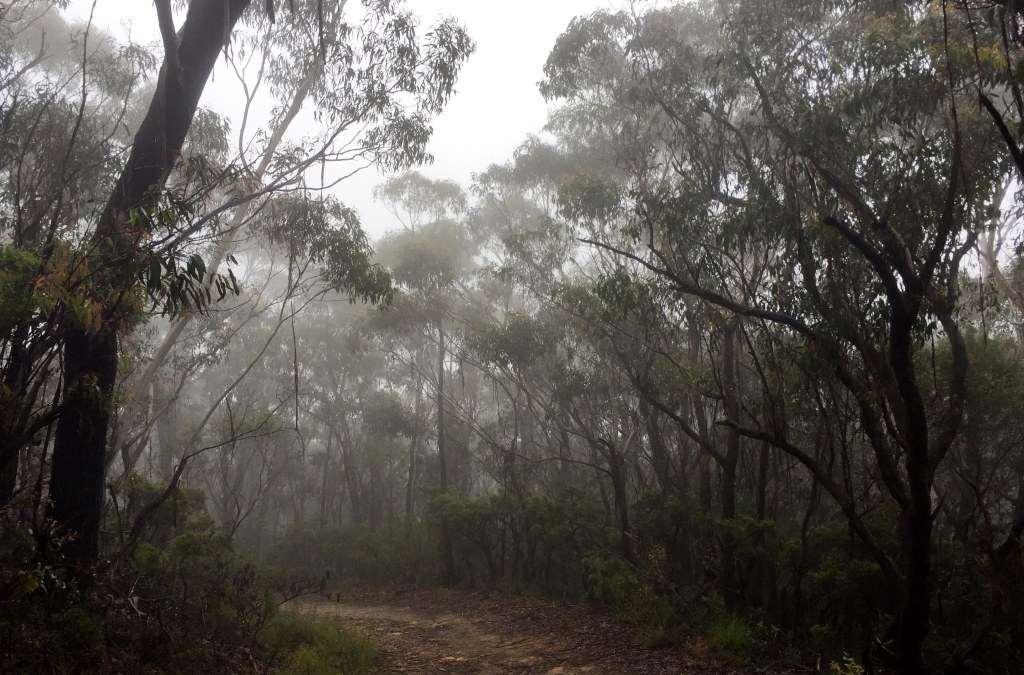
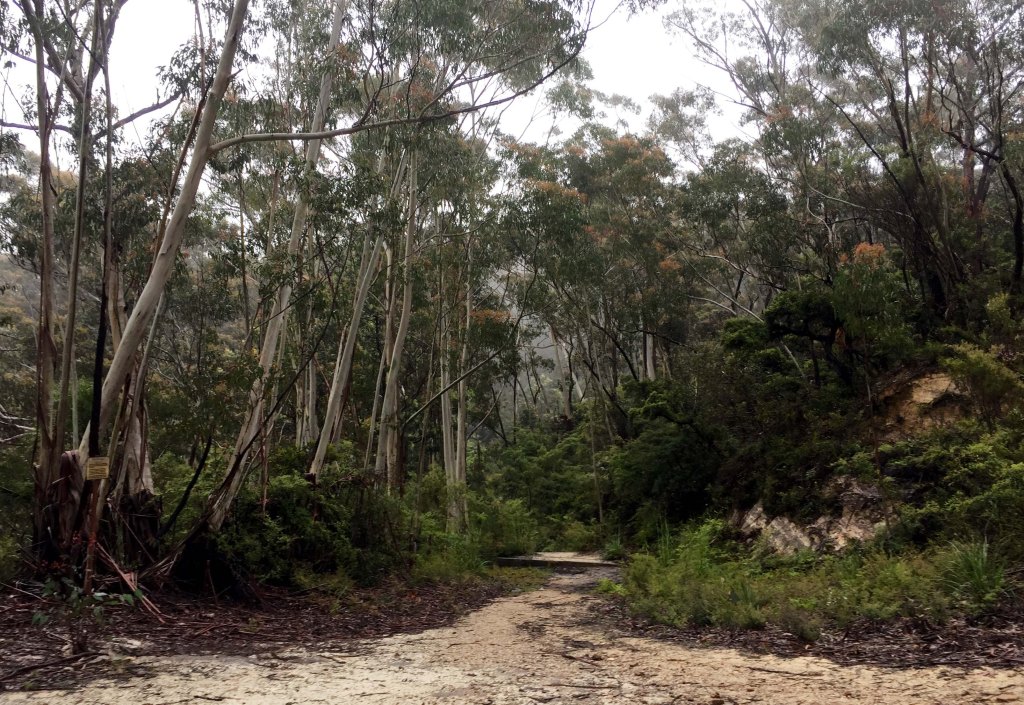
But otherwise it’s all pretty good. Once you hit the bottom of the stairs it’s pretty flat but very scenic. On this trek I continued for another 8 kilometers before turning around to head back.
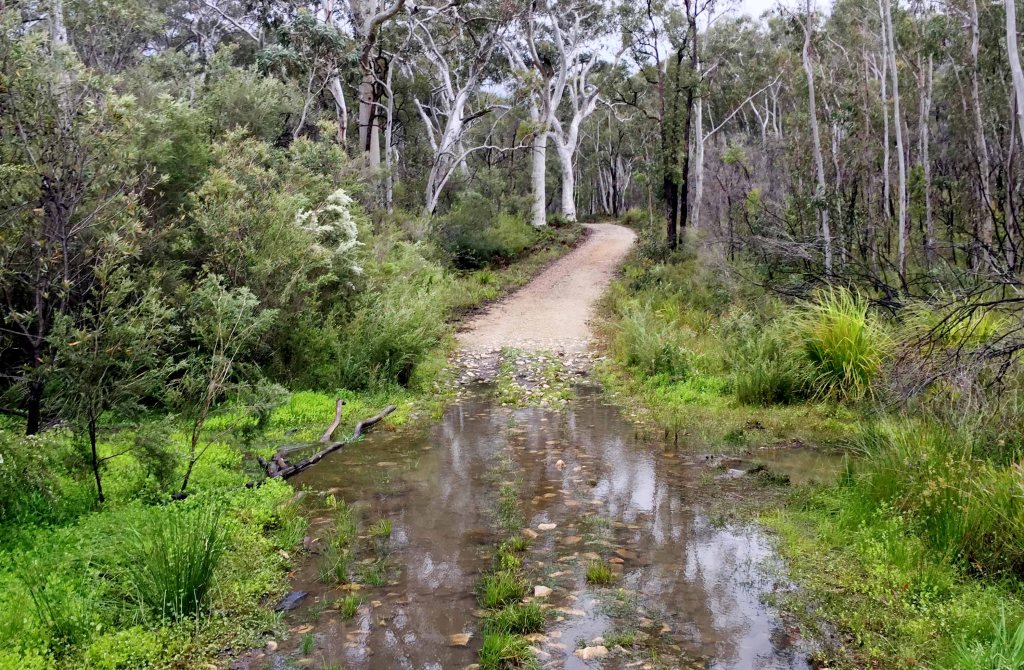

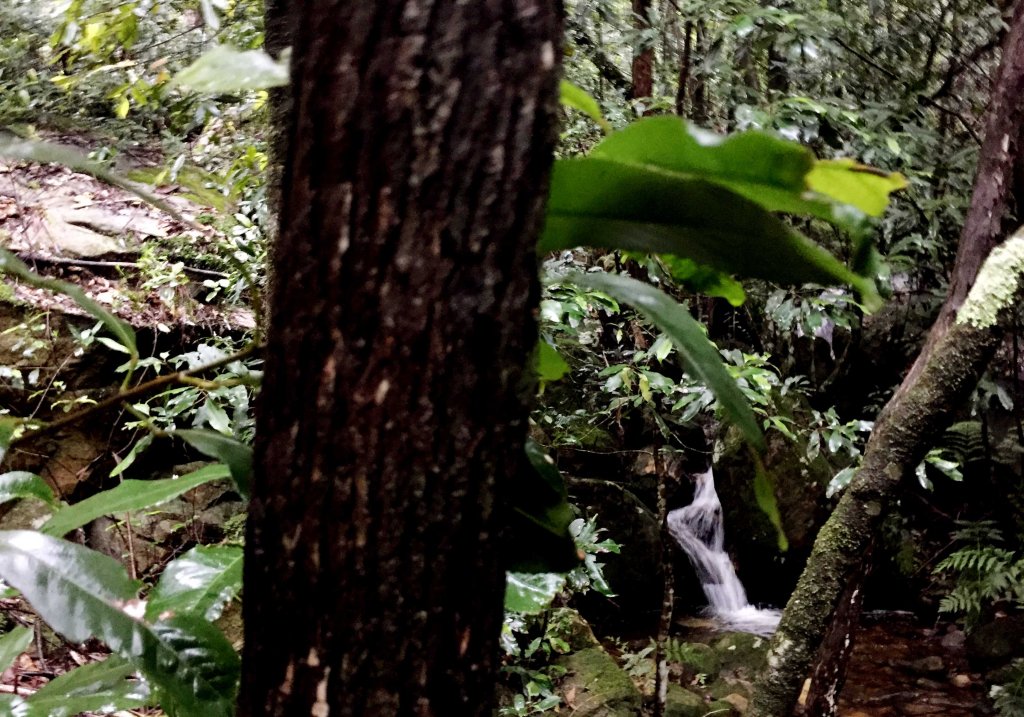
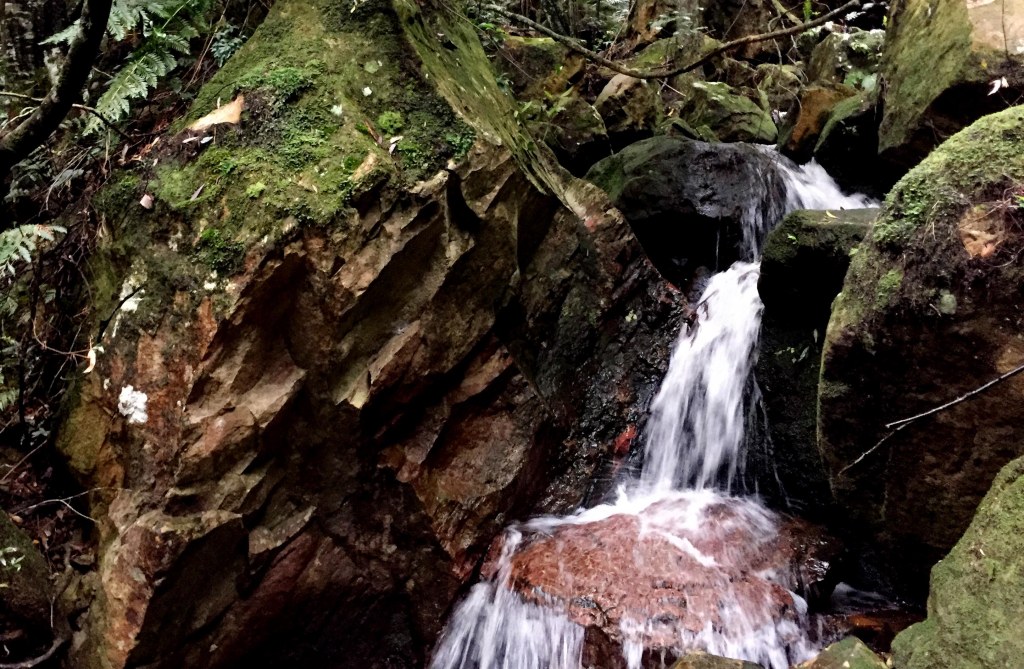
The day I was hear it was pretty wet due to the rain over a couple of days. So I’d recommend if it’s been raining to skip this track as you’ll come across a few mini creeks like below that can make it tough to cross. And you definitely don’t want to fall into the water like I did and soak your socks and shoes. That’s a feeling I could live without.
You could continue on as far as you’d like depending on time and fitness levels.
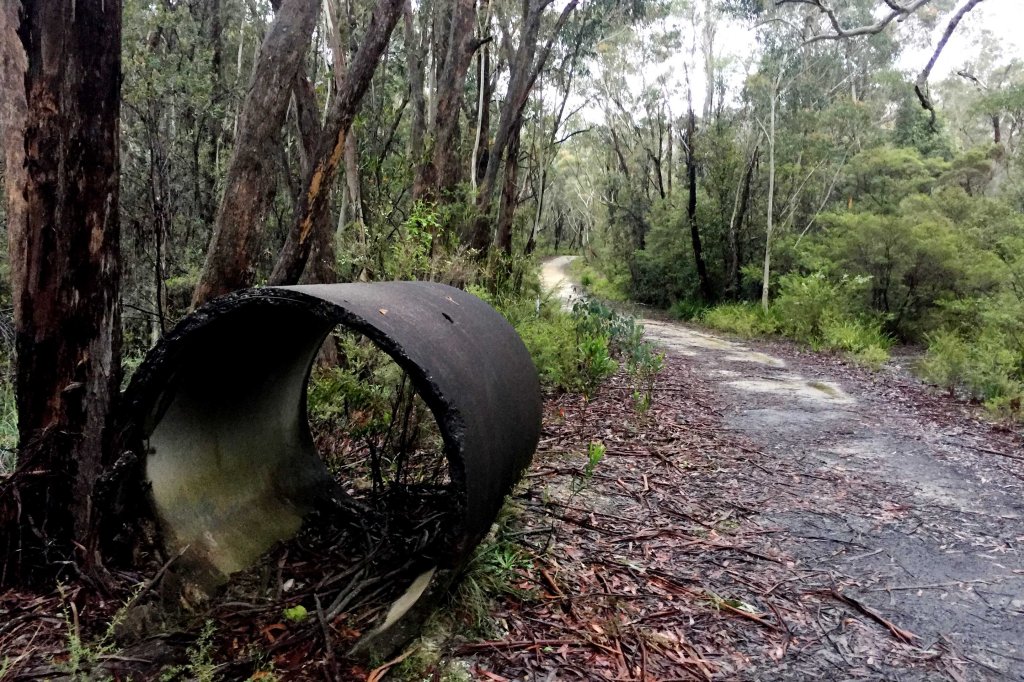
It’s a really nice wide track and if you’re in a group it would be perfect, as not every track in the Blue Mountains is so wide and can be a single lane hike.
So at around the 8-9 kilometers mark I turned around and headed back to the car park at the starting point.
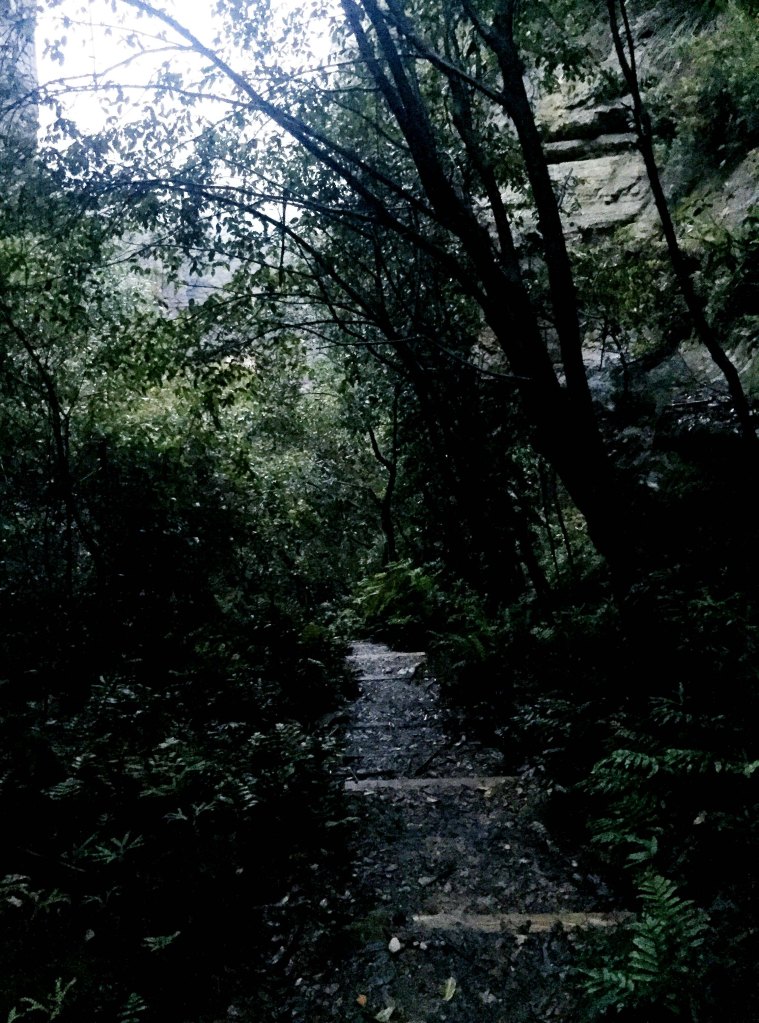
The trek back again is pretty easy, that is until you hit the big set of stairs and that big hill.
This is where the fitness gets tested. There is no handrail on the stairs so it will definitely test the legs. I’ve done this track a few times now, but on this occasion I used a walking stick/pole and I’d highly recommend using something like that if you can. Otherwise the climb up the 3k set of stairs can be brutal.
But all in all the Six Foot Track in the Blue Mountains is awesome and really scenic. I’d definitely recommend it. Whether you do just a section of it like I did. Or you continued on to the other end a Jenolan Caves.
But if you did the whole thing it’s a massive day and would need some serious planning. Or you could camp and do it over a few days as there are campsites available.
For for a simple one day out and back day, what I did here was perfect. Around 18k return trip and in around 4 hours. So well worth it.
Til next time!
Chris Lane